I recently wanted to put dollar signs inside a Texas shape for a blog post about local sales taxes. That, of course, is easy with the asciiArt script: just set up a single-character palette and use a solid two-color image of Texas. But I also wanted to highlight the potential patchwork of sales taxes that people will have to know just to sell things online or even to send things sold in-person to the customer’s home.
The obvious solution was to randomly color each character in the image. The asciiArt script in the book can handle colors, but not random colors. It can use the color of the main image or overlay the color of a different image. Adding a random color option wasn’t difficult, however, because the script already grabs the red, green, and blue components of the image in a central place.
Here’s how I added a random color option to the script. The first question is, how to request random colors? There’s already a request for an overlay image file. What I want now is to, instead, overlay random colors. So I’m going to use --overlay random. It will make no sense to use an overlay file and random colors at the same time. The colors have to come from somewhere, and if they come randomly the file won’t be seen, and if they come from a file the random colors won’t be seen. So combining those options into a single place makes sense.
That means changing the case for --overlay:
[toggle code]
-
case "--overlay", "-o":
- overlayFile = popString(warning:"Overlaying requires an image to overlay.")
-
if overlayFile == "random" || files.fileExists(atPath: overlayFile) {
- useColors = true
-
} else {
- help(message:"File " + overlayFile + " does not exist.")
- }
- case "--palette", "-p":
The bold lines, lines three through seven, are the new lines. All it really changes is to add “random” as a valid value for --overlay. If the overlay string exists as a file or, if the string is the word “random”, that section of code does what it did before. Otherwise, it displays the script’s help text and quits the script.
Because overlayFile can now contain text that is not a file, the check for reading the overlay file has to be changed, too:
[toggle code]
-
if overlayFile != "" && overlayFile != "random" {
- overlay = resize(image: overlayFile, columns: lineWidth, rows:bitmap.size.height)
- }
This keeps it from trying to read a non-existent file called “random”. I could just as well have set overlayFile back to the empty string in the case section and used a flag, maybe useRandomColors. But by leaving the text “random” in the variable, it will display that the overlay is “random” when --details are requested, with no extra code.
In the part of the script that does the work, a little reorganization will help. Here’s what it currently looks like:
[toggle code]
-
if useColors || useGreyscale {
-
if overlay != nil {
- (red, green, blue) = pixelRGB(bitmap:overlay!, x:column, y:row)
- }
-
if useColors {
- //30 is black
- var termColor = 30
- if red > 0.3 {termColor += 1}
- if green > 0.5 {termColor += 2}
- if blue > 0.3 {termColor += 4}
- line += "\u{001B}[;" + String(termColor) + "m"
- }
- var characterColor = NSColor(red: red, green: green, blue: blue, alpha: 1.0)
-
if useGreyscale {
- characterColor = NSColor(red: grey, green: grey, blue: grey, alpha: 1.0)
- }
- characterAttributes[NSAttributedString.Key.foregroundColor] = characterColor
-
if overlay != nil {
- }
And here’s what I changed it to:
[toggle code]
-
if useColors || useGreyscale {
-
if overlayFile == "random" {
- red = CGFloat.random(in: 0...1)
- green = CGFloat.random(in: 0...1)
- blue = CGFloat.random(in: 0...1)
-
} else if overlay != nil {
- (red, green, blue) = pixelRGB(bitmap:overlay!, x:column, y:row)
- }
-
if useGreyscale {
- red = (red * 0.3 + green * 0.59 + blue * 0.11)
- green = red
- blue = red
-
} else {
- //30 is black
- var termColor = 30
- if red > 0.3 {termColor += 1}
- if green > 0.5 {termColor += 2}
- if blue > 0.3 {termColor += 4}
- line += "\u{001B}[;" + String(termColor) + "m"
- }
- let characterColor = NSColor(red: red, green: green, blue: blue, alpha: 1.0)
- characterAttributes[NSAttributedString.Key.foregroundColor] = characterColor
-
if overlayFile == "random" {
- }
You can see that it uses much of the same code, but it adds a check for overlayFile == "random" and sets red, green, and blue to be random CGFloats between 0 and 1. It also changes the logic of using greyscale slightly. Previously, if it was using greyscale it always used the greyscale of the main image. The two options—overlay and greyscale—were mutually exclusive. Now, the script uses the greyscale of the overlay if one was specified. That includes a random overlay. If you specify random colors and greyscale, you’ll get random greyscale.
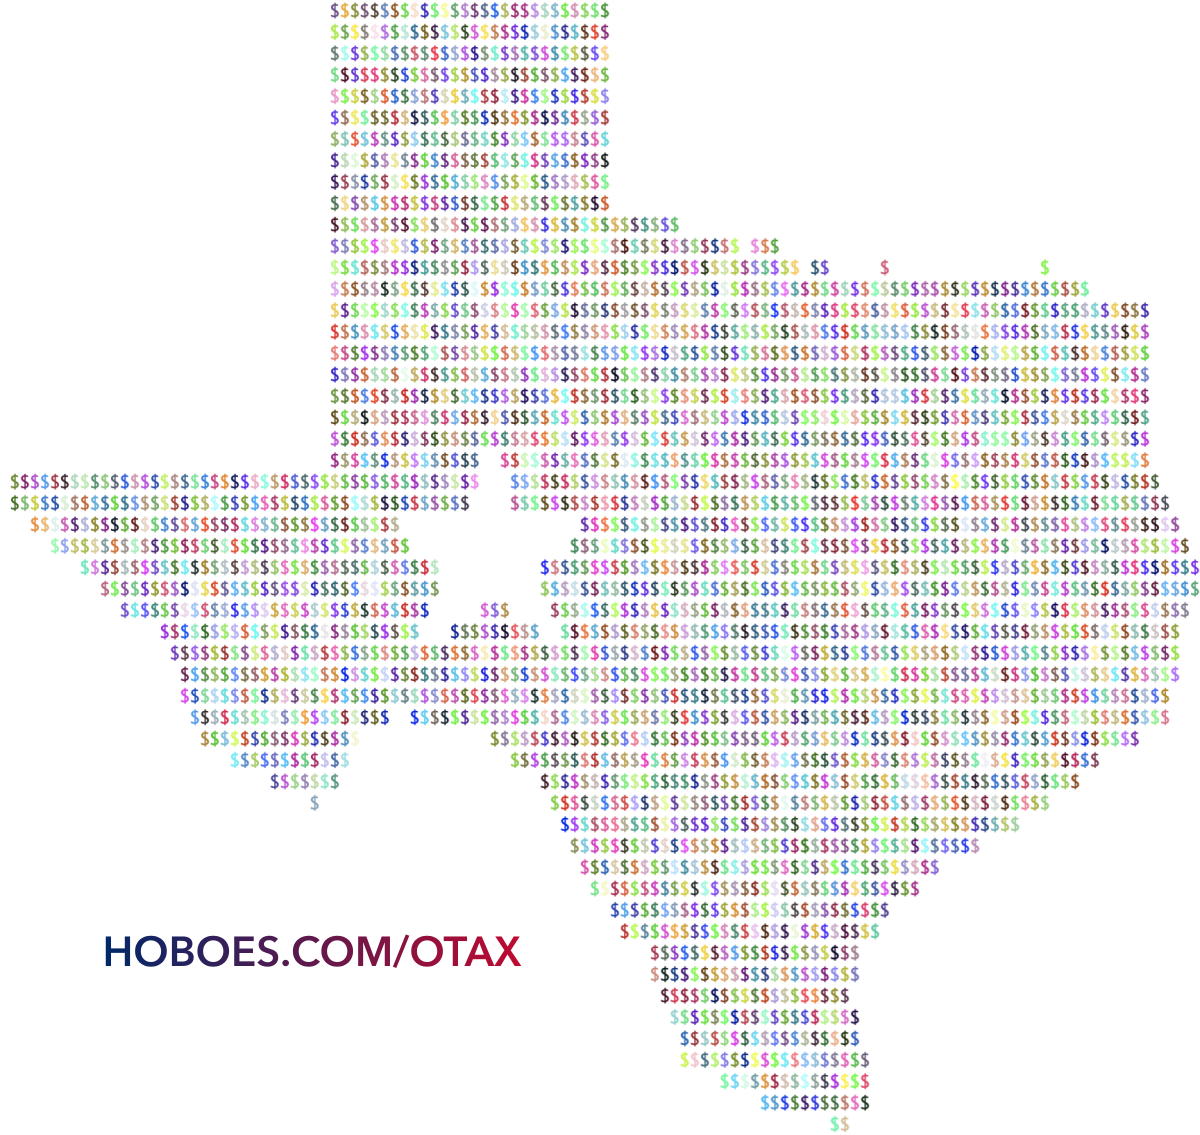
This change let me create a Texas flag with randomly colored dollar signs using the command line:
- asciiArt Texas\ Flag.png --palette '$' --blank ' ' --sequence .8 --overlay random

If you’ve played any roguelike that supports ANSI colors and you’ve been so hungry you’ve eaten mushrooms, you may start feeling a flashback.
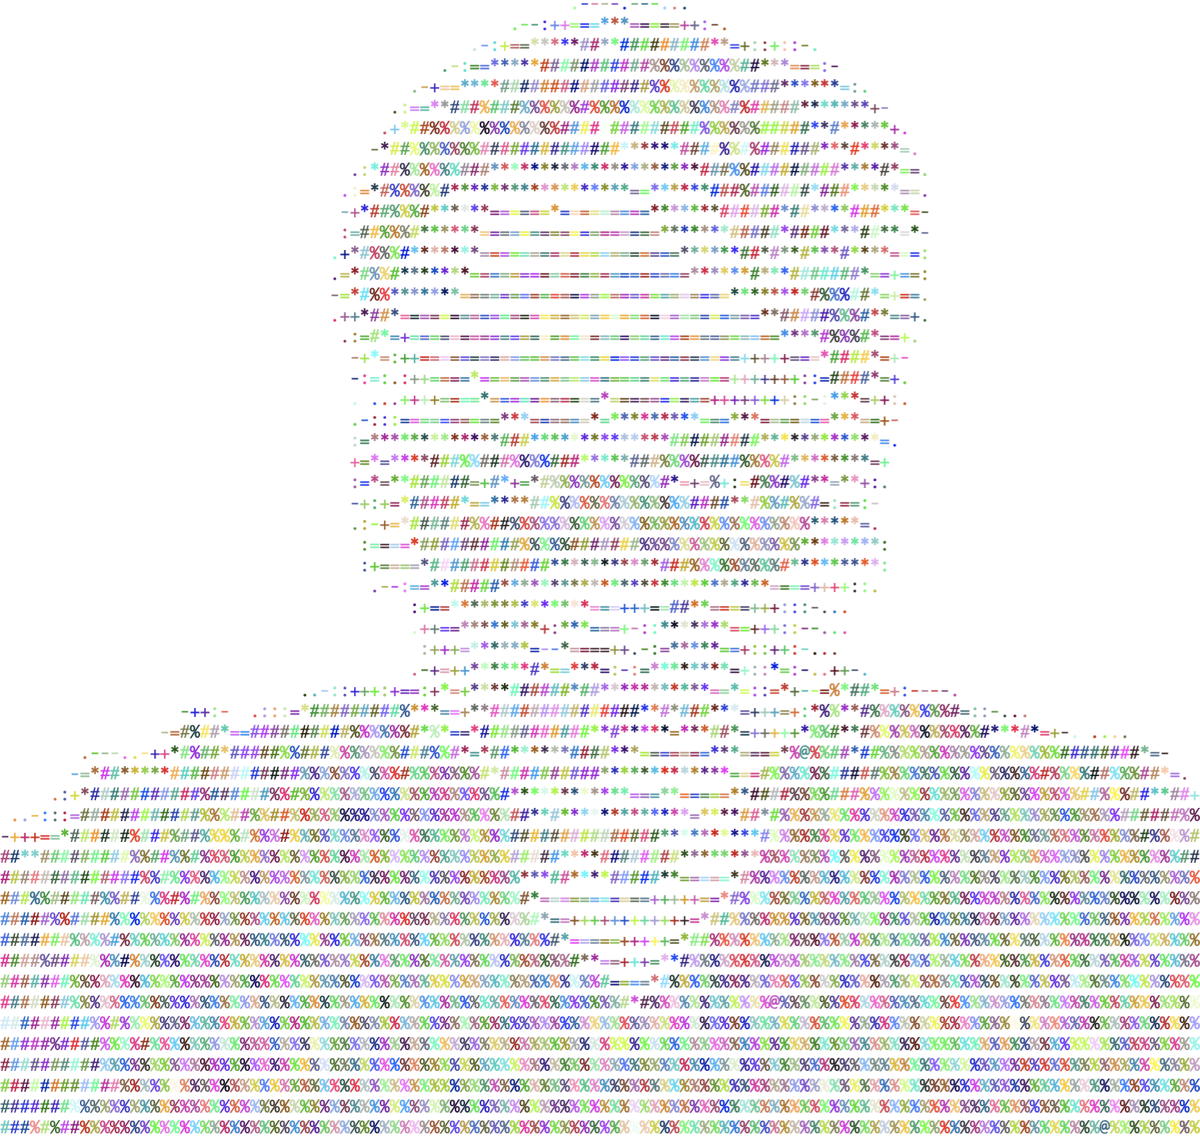
And for the photo of myself that I used in the book, I can get random colors over the ASCII fake greyscale characters by using:
- asciiArt head.png --overlay random --save psychedelic.png
It looks a lot like eating mushrooms in Angband.
This may end up being a very limited use case for the script, but it is a lot of fun, and a lot of fun is half the reason for the book, so I’ve added this update to 42 Astounding Scripts. If you bought the ebook from a vendor that does automatic updates, you probably already have the update; otherwise, it should be available to redownload. If you have the print book, you can type the changes above and get the same benefits! Any new copies of the print book will have the updated script.
Despite the… interesting effects on a photo, this option for the script is probably best used with solid shapes, such as shapes of states or other items, since the colors, being random, will tend to muddy any more complex image.
I noticed when preparing this post that random colors don’t compress very well. PNG can’t compress it because it has no solid colors, and JPEG can’t do it because the colors are all unrelated. JPEG is optimized for colors as they might appear in nature, with variations of the same color shifting to variations of other colors. Variations on the green in trees, for example, blending into variations on the blue in the sky, blending into variations on the white in clouds. Because these colors are random, there are no such variations. The colors are basically solid until they vary, and their variations are from one unrelated color to another. JPEG does better than PNG, however, which surprised me a little. This is probably because there’s anti-aliasing going on in the text.
Enjoy! This script and the piano script remain the ones I find most fun in 42 Astoundingly Useful Scripts•.
- 42 Astoundingly Useful Scripts and Automations for the Macintosh
- MacOS uses Perl, Python, AppleScript, and Automator and you can write scripts in all of these. Build a talking alarm. Roll dice. Preflight your social media comments. Play music and create ASCII art. Get your retro on and bring your Macintosh into the world of tomorrow with 42 Astoundingly Useful Scripts and Automations for the Macintosh!
- 42 Astoundingly Useful Scripts and Automations for the Macintosh: Jerry Stratton at Smashwords (ePub)
- If you have a Macintosh and you want to get your retro on, take a look at 42 Astoundingly Useful Scripts and Automations for the Macintosh. These modern scripts will help you work faster and more reliably, and inspire your own custom scripts for your own workflow.
- 42 Astoundingly Useful Scripts and Automations for the Macintosh•: Jerry Stratton at Amazon.com (paperback)
-
 If you have a Macintosh and you want to get your retro on, take a look at 42 Astoundingly Useful Scripts and Automations for the Macintosh. These modern scripts will help you work faster and more reliably, and inspire your own custom scripts for your own workflow.
- Angband
- “Angband is a free, single-player dungeon exploration game where you take the role of an adventurer, exploring a deep dungeon, fighting monsters, and acquiring the best weaponry you can, in preparation for a final battle with Morgoth, the Lord of Darkness.”
More ascii art
- Create your own ASCII art palettes with densitySort
- You can create your own ASCII art palettes from special (fixed pitch) fonts and specific collections of characters, using the densitySort script here.
- Hello World in Amber
- A hello world too retro even for me.
- Have a Merry Scripting Christmas with Persistence of Vision
- The ASCII Merry Christmas from Astounding Scripts was taken from a scene I created in Persistence of Vision. It’s a very simple scene that highlights many of the advantages of using POV to create images.
- A thousand points of color: give your photos a pointillist turn
- I had far too much fun with that kleenex mask in the book. Here’s a more serious look at creating pointellated images using the asciiArt script in 42 Astounding Scripts.
- Commemorate Patriot Day with Betsy Ross
- The Declaration of Independence overlaid on the Betsy Ross flag.
- Three more pages with the topic ascii art, and other related pages
More Astounding Scripts updates
- Catalina: iTunes Library XML
- What does Catalina mean for 42 Astounding Scripts?
- Avoiding lockFocus when drawing images in Swift on macOS
- Apple’s recommendation is to avoid lockFocus if you’re not creating images directly for the screen. Here are some examples from my own Swift scripts. You can use this to draw text into an image, and to resize images.
- 42 Astounding Scripts, Catalina edition
- I’ve updated 42 Astounding Scripts for Catalina, and added “one more thing”.
- Catalina vs. Mojave for Scripters
- More detail about the issues I ran into updating the scripts from 42 Astounding Scripts for Catalina.
- Big Sur and Astounding Scripts
- Big Sur does not appear to need any changes to any of the scripts in the book.
- Two more pages with the topic Astounding Scripts updates, and other related pages


